LOCATED IN PORTER SERVICING ALL OF HOUSTON, BEAUMONT, DALLAS, FORT WORTH, AUSTIN, SAN ANTONIO AND EVERYWHERE IN BETWEEN

BJL Lighting LLC’s Blog
DIY Vehicle Lighting Upgrades: Tips and Tricks

Upgrading the lighting on your vehicle can drastically improve safety, aesthetics, and functionality. Whether you're looking to enhance visibility on dark roads or give your car a custom look, DIY vehicle lighting upgrades can be a rewarding project. In this guide, we'll walk you through some essential tips and tricks to help you achieve professional-quality results. If at any point you feel overwhelmed, remember that BJL Lighting LLC, located in Porter, TX, is here to assist with expert advice and installation services.
Choosing the Right Lighting: LED vs. Halogen
One of the first decisions you'll need to make when upgrading your vehicle's lighting is whether to go with LED or halogen lights. Both have their pros and cons, so let's break it down:
- LED Lights: These are more energy-efficient and last longer than halogen bulbs. They also produce a brighter and whiter light, improving visibility, especially at night. LED lights are available in various colors and can be customized to fit your vehicle's style. However, they are generally more expensive upfront and may require additional components, such as resistors or capacitors, to function correctly with your vehicle's electrical system.
- Halogen Lights: Halogen bulbs are less expensive and easier to install compared to LEDs. They emit a warm, yellowish light, which some drivers prefer for a more classic look. While they may not last as long or be as bright as LEDs, halogen bulbs are still widely used due to their affordability and straightforward installation.
Tip: If you're looking for long-term performance and energy savings, LED lights are the way to go. However, if you're on a budget or prefer a more traditional look, halogen lights are a solid choice.
Essential Tools and Supplies for DIY Lighting Upgrades
Before you start your DIY vehicle lighting upgrade, it's crucial to gather all the necessary tools and supplies. Having everything ready will make the process smoother and reduce the chances of errors. Here's a list of essentials:
- Screwdrivers: Both flathead and Phillips screwdrivers will be needed to remove and replace screws holding the lighting assemblies.
- Wire Strippers and Crimpers: These tools are essential for cutting and connecting wires when installing new lights.
- Electrical Tape and Heat Shrink Tubing: These items help insulate and protect electrical connections, preventing short circuits.
- Multimeter: A multimeter allows you to test the voltage and ensure that your connections are correct before finalizing the installation.
- Mounting Hardware: Depending on the type of lights you're installing, you may need brackets, screws, and adhesive mounts.
- Protective Gear: Always wear gloves and safety glasses to protect yourself from sharp edges, hot bulbs, and electrical components.
Tip: Investing in quality tools will make the installation process easier and help you achieve a professional finish.
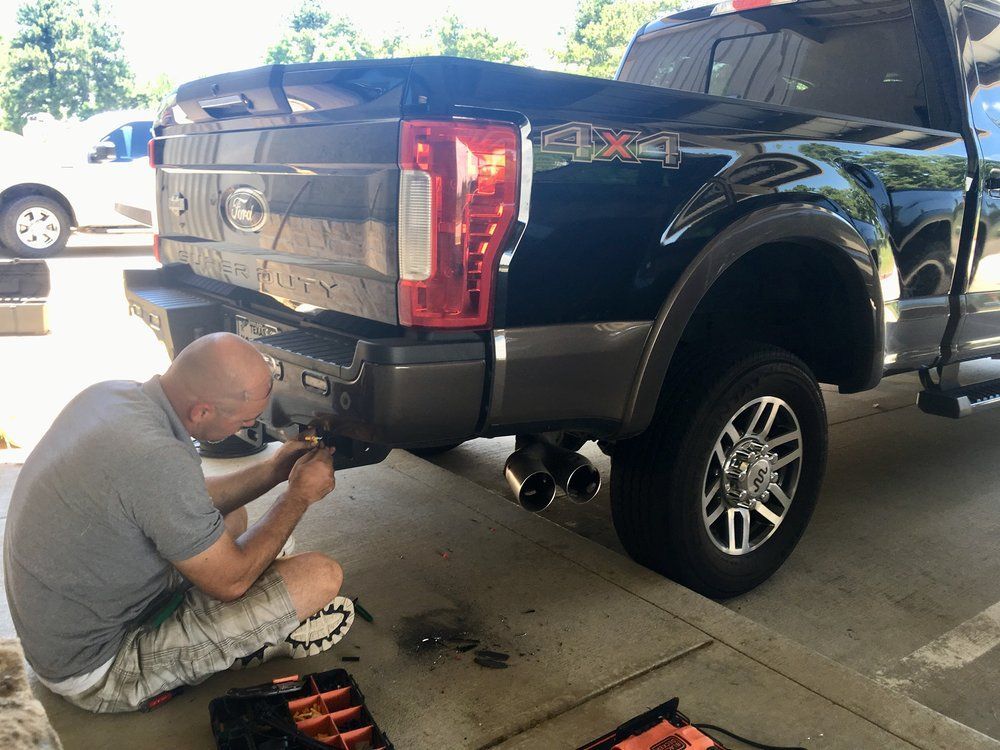
Step-by-Step Guide to Installing LED Light Bars
LED light bars are a popular upgrade for off-road vehicles, trucks, and SUVs, providing powerful illumination for nighttime driving. Here's a step-by-step guide to installing an LED light bar:
- Choose the Mounting Location: Determine the best location for your light bar, such as the front bumper, roof, or grille. Ensure the spot you choose has enough space and is stable enough to support the light bar's weight.
- Mount the Light Bar: Use the provided brackets and hardware to secure the light bar in place. Make sure it's aligned correctly and tightened securely.
- Wire the Light Bar: Connect the light bar to your vehicle's electrical system. Most LED light bars come with a wiring harness, including a switch, relay, and fuse. Start by connecting the harness to the battery, then run the wires to the light bar, ensuring all connections are secure and insulated.
- Test the Light Bar: Before finalizing the installation, test the light bar to ensure it's functioning correctly. Use a multimeter to check the voltage and make any necessary adjustments.
- Secure the Wiring: Once you're satisfied with the installation, secure the wiring with zip ties or clips to prevent it from getting damaged or tangled.
Tip: If you're not comfortable working with your vehicle's electrical system, it's best to consult a professional or visit BJL Lighting LLC for assistance.
Common Mistakes to Avoid When Upgrading Vehicle Lighting
DIY vehicle lighting upgrades can be a fun and rewarding project, but there are some common mistakes you'll want to avoid:
- Incorrect Bulb Size: Make sure to double-check your vehicle's manual to determine the correct bulb size for your specific model. Installing the wrong size can result in poor performance and potential damage.
- Poor Wiring Connections: Insecure or poorly insulated connections can lead to flickering lights, short circuits, or even electrical fires. Take the time to properly crimp, solder, and insulate all connections.
- Overloading the Electrical System: Adding too many lights or choosing lights with too high of a wattage can overload your vehicle's electrical system, leading to blown fuses or drained batteries. Calculate the total wattage of all the lights you plan to install and ensure your vehicle can handle the load.
- Ignoring Heat Dissipation: LED lights generate heat, and if not properly managed, it can reduce the lifespan of the lights or even cause damage. Ensure there's adequate airflow around the lights and consider adding heat sinks if necessary.
Tip: To avoid these mistakes, take your time during the installation process and don't hesitate to seek professional advice.
Custom Lighting Upgrades for a Unique Look
Beyond standard headlights and taillights, there are countless ways to customize your vehicle's lighting for a unique look. Here are some popular options:
- Underglow Lights: Install LED strips under your vehicle for a striking, colorful glow that illuminates the road beneath you. This is a popular choice for car enthusiasts looking to stand out at shows or events.
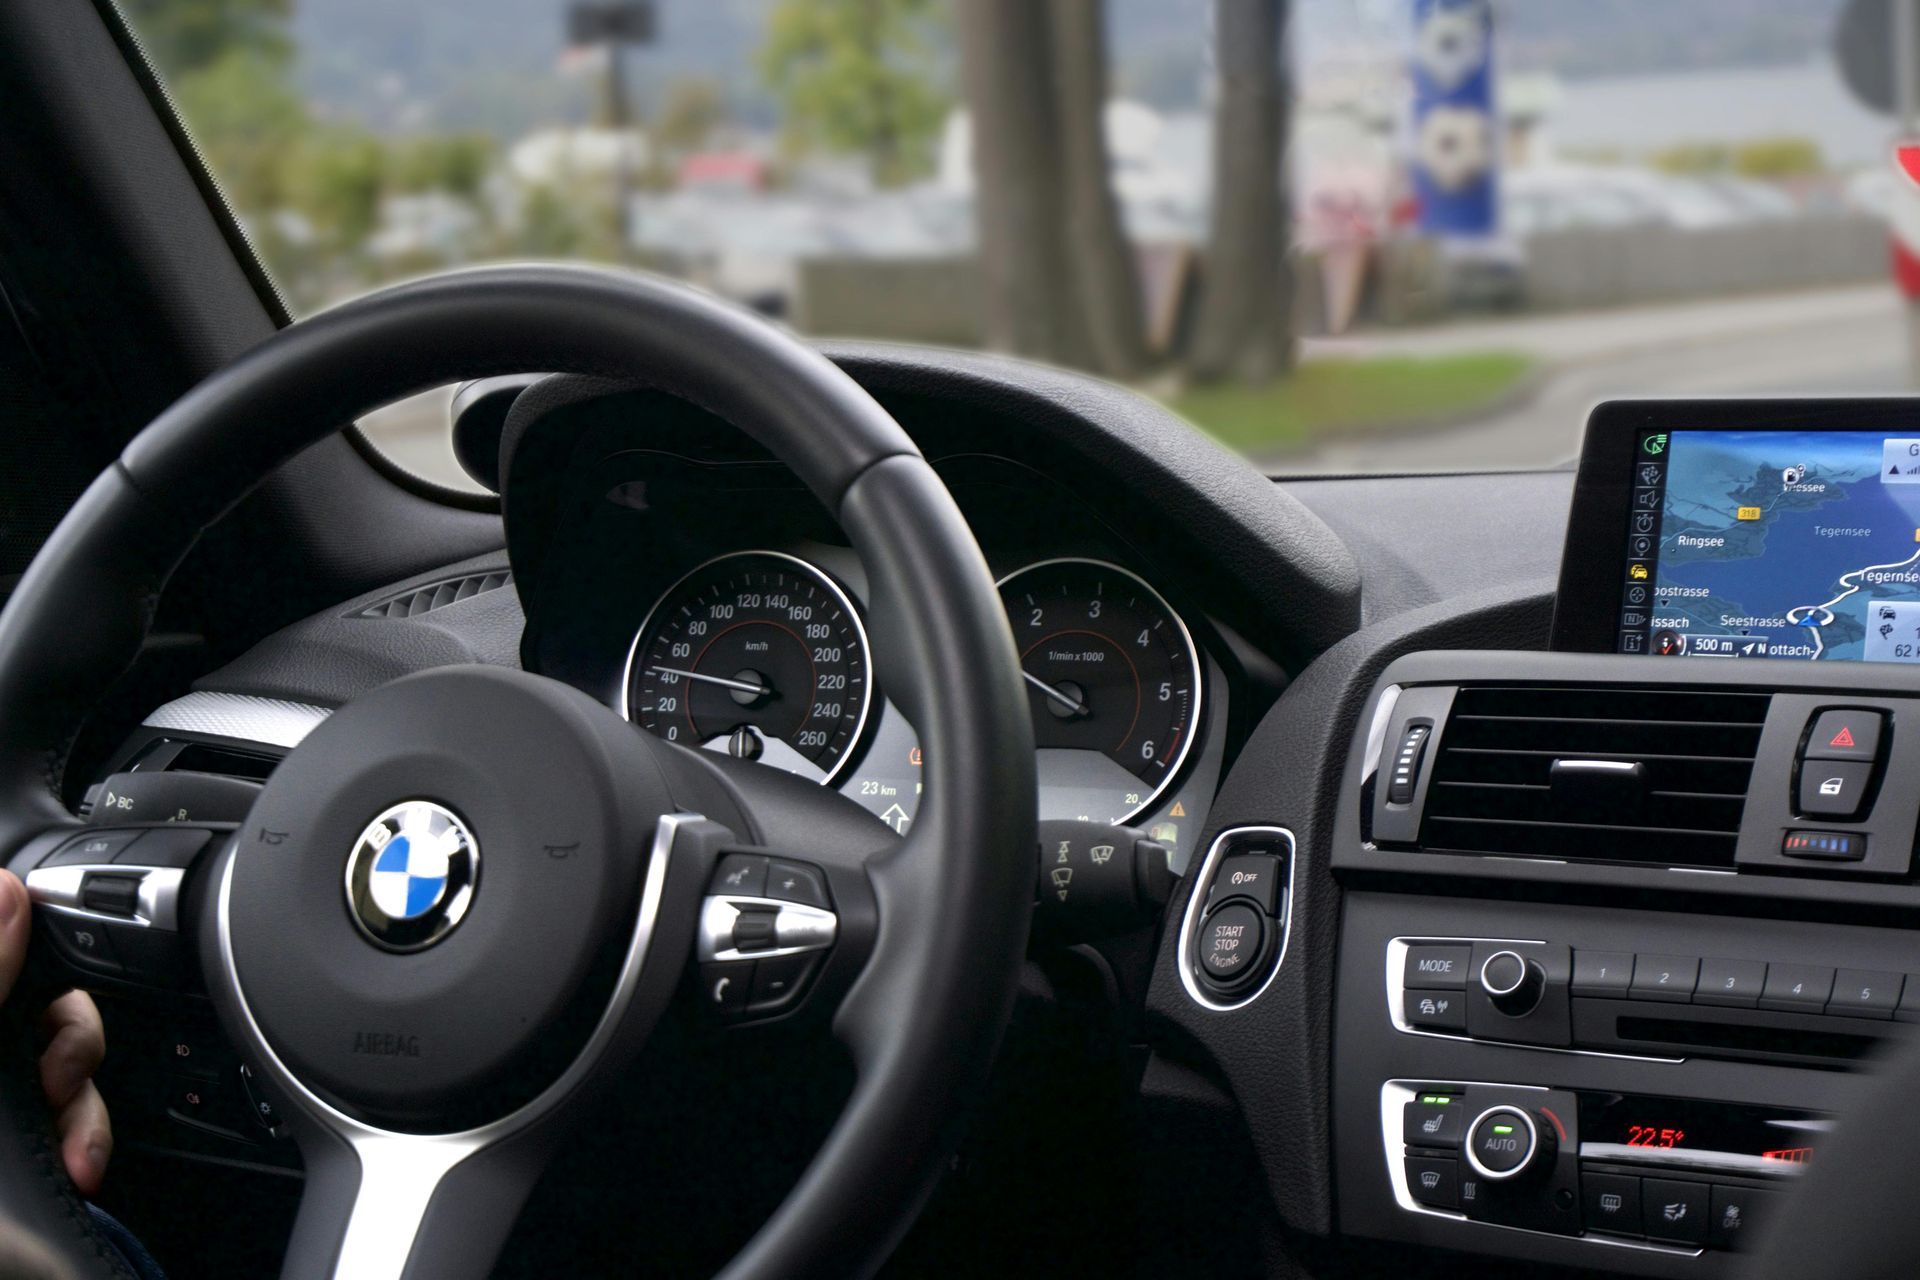
- Interior Accent Lighting: Add LED strips or pods inside your vehicle to highlight the dashboard, footwells, or door panels. This can create a modern, high-tech ambiance, especially at night.
- Halo Lights: Also known as "angel eyes," halo lights are circular LED rings that can be added around your headlights for a distinctive, futuristic look. They're available in various colors and can be set to change with different driving modes.
- Tailgate Light Bars: These are LED strips that can be installed on the rear of your vehicle, just above the tailgate. They can function as brake lights, turn signals, and reverse lights, adding both style and safety to your vehicle.
Tip: Custom lighting upgrades are a great way to express your personal style, but always ensure that your modifications comply with local laws and regulations.
Contact BJL Lighting LLC for Professional Vehicle Lighting Services
Upgrading your vehicle's lighting can enhance safety, performance, and style, but it can also be a complex task. If you need assistance with installation or want to explore custom lighting options, BJL Lighting LLC in Porter, TX, is here to help. Our team of experts is ready to provide you with top-quality products and professional installation services. Call us at (936) 701-9991 to schedule a consultation or visit our shop to see how we can transform your vehicle with our DVR systems, strobe lights, truck cameras, dash cams, and more.
FAQs
What are the benefits of upgrading to LED headlights?
LED headlights are more energy-efficient, have a longer lifespan, and provide brighter and clearer illumination compared to halogen bulbs. They also have a faster response time, which can improve safety.
Can I install new lights on my vehicle myself, or should I hire a professional?
While many lighting upgrades can be done as DIY projects, some may require specialized tools or knowledge, especially when dealing with electrical systems. If you're unsure, it's always best to consult a professional.
Are there any legal restrictions on vehicle lighting upgrades?
Yes, there are regulations regarding the color, brightness, and placement of vehicle lights. It's important to check local laws to ensure your upgrades are compliant.
How do I prevent my new lights from draining my vehicle's battery?
Make sure your vehicle's electrical system can handle the additional load from the new lights. Consider upgrading your alternator or battery if necessary, and always turn off auxiliary lights when not in use.
What should I do if my lights start flickering after installation?
Flickering lights can be caused by loose connections, poor wiring, or an overloaded electrical system. Double-check all connections and wiring, and consult a professional if the issue persists.


Contact Us
Hours of Operation
- Mon - Sun
- -
Follow Us
Payment Methods
We also accept invoicing and wave